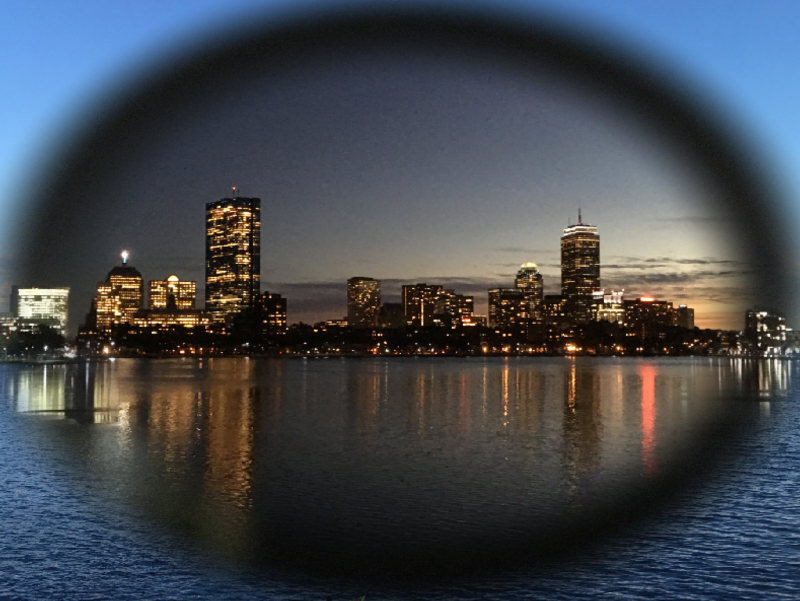
Click image for Live DemoI am fortunate to live near Boston's Longfellow Bridge, which affords a fantastic view of the Back Bay area. Sometime last year I got into the habit of taking a photograph with my cell phone each time I crossed the bridge, nearly everyday.
I had some vague plan of using the photos in a project. And now, a year later, I have.
Click Here to see the Live Demo
It took me a while - here is what I had to do...
Step 1 - Aligning the Photographs
Although I took the photographs from roughly the same spot and looking in more or less the same direction (I used the Prudential Tower as a guild each time), the images did not exactly align. I hadn't taken any care to keep the aperture and exposure settings consistent and some photos were taken off center or rotated slightly.
Enter Hugin, a really nifty open-source photo-stitching package. I've used Hugin before to make panoramas but it also makes quick work of aligning stacks of slightly different images - if you can figure out the magic sequence of buttons and knobs to fiddle with.
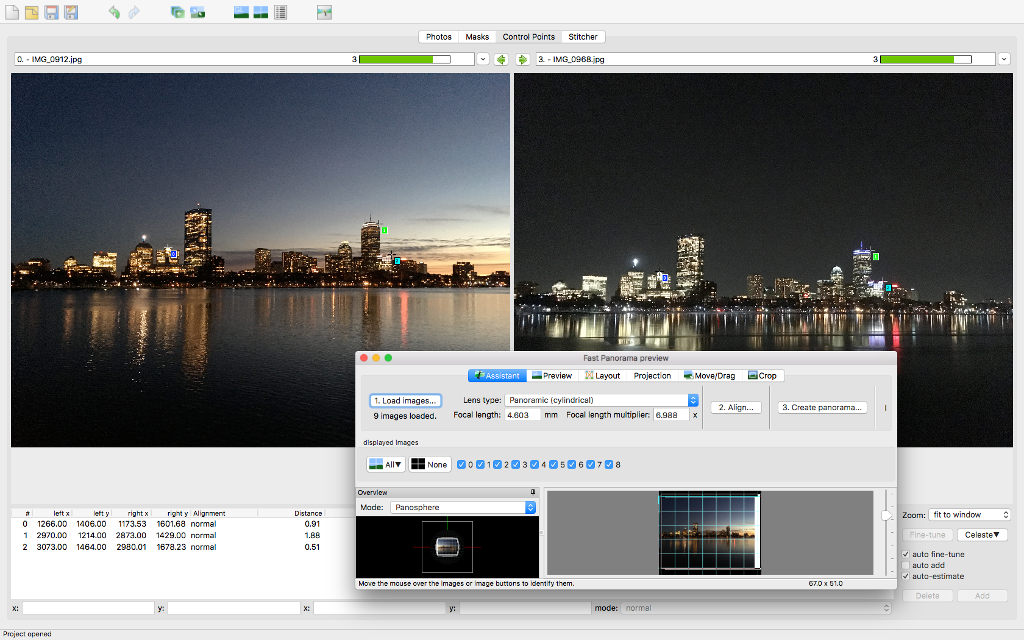
The hardest part was going through each image and setting the control points that are used for alignment. Hugin can do this automatically for similar images, but the results were not useful in my case and I had to manually set the points myself.
Once this chore was done Hugin faithfully massaged each image into perfect alignment. I never did figure out how to get it to crop the images so I used the Gimp image editor to do the final cleanup. This is what the final stack of images looks like:
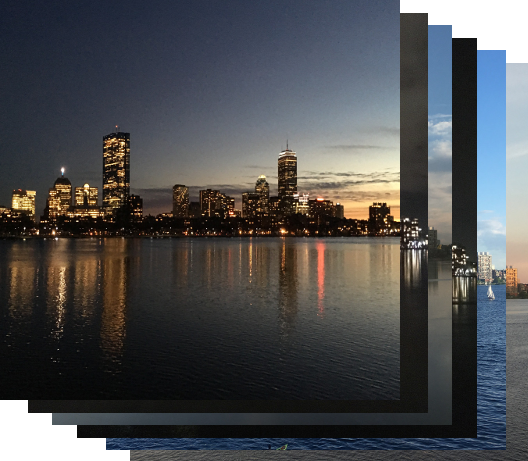
You might notice that the images are stretched vertically. This is because WebGL (and your video hardware) expects images to have a power-of-two width and hight for various reasons. I chose 1024 pixels for both - the images will be rescaled during the display process to their original aspect ratio.
Step 2 - The Depth Map
While I was mucking around with The Gimp, I also took the opportunity to construct a tenth image. It looks like this:
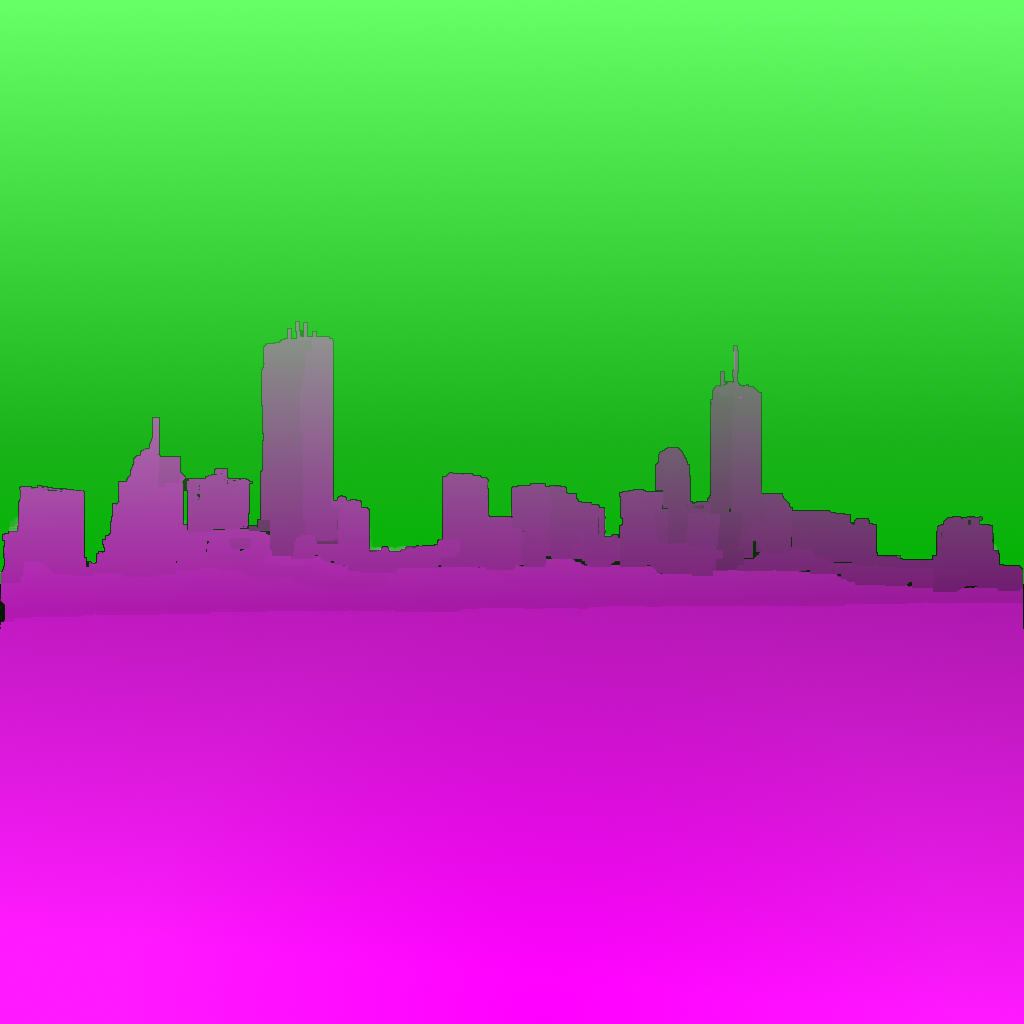
Perhaps it would make more sense if I separated out the red and green channels:
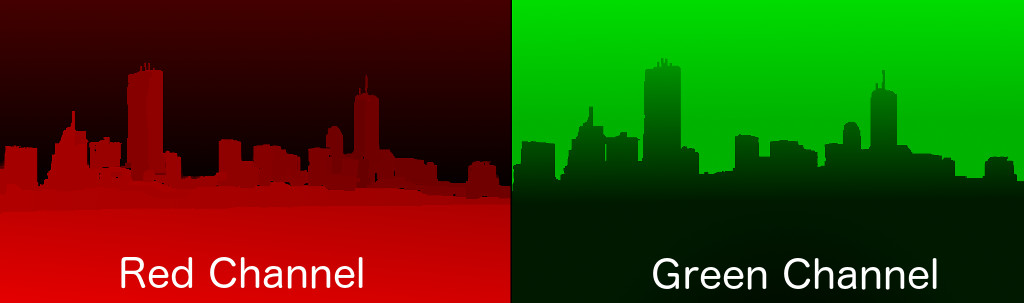
What is this used for? I thought I could do some neat effects if the images had a depth component. Lacking a theodolite, any skill, or the patience I ended up just estimating the distances involved and drawing them freehand onto the red channel. Things close to the camera are 100% red, the closest buildings are 60% red, and the sky is 0% red.
Likewise the green channel encodes the vertical height. The water is 0% green, the buildings get greener as they reach for the very green sky.
None of this will stand up to any kind of scrutiny but it does allow for the illusion of depth. The blue and alpha channels are currently unused. Perhaps I will think of something later.
Step 3 - Javascript and WebGL
Enough messing around with pretty pictures, its time to hit the code. Because this was somewhat of a learning exercise I decided not to use any third-party libraries or helpers. Raw Javascript all the way.
To display images in WebGL we need to do several things.
- Download the resources we need, namely the images and the glsl shaders.
- Grab the webgl context for the canvas element in the document and do some setup
- Create textures from the images and compile the shaders.
- In a loop, pick a random shader and feed it some random images.
- Sit back and let the shaders do all the work.
Simple. Downloading the images and shaders in Javascript is easy, the hard part is waiting until the resources have actually finished being transferred from the server.
_loadShaderAsync(s) {
  let p = new Promise(function (resolve, reject) {
    fetch(s.shaderUri)
      .then(function(response){response.text().then(
        (text) => {s.source = text; resolve();})
      }
    )});
  return p;
}

_loadImageAsync(i) {
  i.img = new Image();
  let p = new Promise(function(resolve, reject) {
    i.img.onload = () => {resolve();}
    i.img.onerror = () => {reject();}
    i.img.src = i.uri;
  });
  return p;
}

startDownloadsAsync() {
  let imagePromises = this._images.map(this._loadImageAsync);
  let shaderPromises = this._shaders.map(this._loadShaderAsync);
  let depthPromise = this._loadImageAsync(this._depthMap);
  let allPromises = imagePromises.concat(shaderPromises, depthPromise);
  let waitForAll = Promise.all(allPromises);
  return waitForAll;
}
I am quite happy with the way this turned out, the main code can just do:
startDownloadsSync().then{ whatever_needs_to_be_done... }
Modern Javascript is getting really powerful.
Initializing the WebGL context and creating the textures is really boring, so I won't go into the details here.
Step 4 - Shaders (glsl)
WebGL is really designed to display interactive 3D graphics and is vastly more powerful than we need just to display a few flat images. So I set up the world's most simple vertex shader to tell WebGL that we are looking at a flat rectangle that extends from (-1.0, -1.0) to (1.0, 1.0) on the X,Y plane and to forget that the Z axis exists.
glsl is the WebGL shader language and it is amazingly powerful. The graphics hardware in modern computers consists of dozens to hundredsDepending on how much you paid for your computer of simple processors, each working in parallel to generate the pictures on the screen. The glsl language is how you program these "fragment shader" processors directly.
precision highp float;
uniform sampler2D u_image0;
uniform sampler2D u_image1;
uniform sampler2D u_depth;
uniform float u_ratio;
uniform vec2 u_random;

varying vec2 v_texCoord;

float random (in vec2 _st) {
    return fract(sin(dot(_st.xy,
                         vec2(12.9898,78.233)))*
        43758.5453123);
}

void main() {
  // green channel contains the height
  float d = texture2D(u_depth, v_texCoord).g;

  float r = (random(v_texCoord + u_random) * 0.05) - 0.025;

  d = clamp(d + r, 0.0, 1.0);

  gl_FragColor = mix(texture2D(u_image0, v_texCoord),
                      texture2D(u_image1, v_texCoord),
                      step(d, u_ratio));
}
In this example, the code says that it will be passed 3 images (the sampler2D uniforms, in glsl-speak). My javascript also passes a u_ratio uniform that varies between 0.0 (completely the first image) and 1.0 (completely the second image). Effectively, the main() function will be called for each pixelTechnically for each "fragment" but here they are the same thing, using pixels from both image0 and image1 along with the value of the green channel of the depth map (which encodes the height above the waterline) to create the output image.
I created a bunch of these shaders and my main Javascript just picks a random one to perform the crossfade to the next image. I don't claim to be any kind of expert shader developer and many of the effects are admittedly cheesy. But I like watching the photos morph together and I am calling this project a success.